Summary
- DIY HP clock combines old and new tech with Wi-Fi capabilities using an ESP32.
- Design features include easy repair, aesthetic fluting, and a USB charging hole.
- The clock’s code was uploaded for customization; it was designed with Fahrenheit weather and American date formatting.
I really like it when people take older tech and give it a modern-day remix with some new hardware. There’s something about preserving the “spirit” of a piece of retro electronics while also giving it some nice quality of life features for the modern day that really pleases me. As such, when I saw that someone had constructed an HP bubble display clock and added Wi-Fi capabilities to it, I knew I had to check it out further.
Related
You too can make this cool e-ink Pomodoro timer with an ESP32
Eating too much Pi? Maybe it’s time for a change.
This DIY HP bubble clock combines the old with the new with an ESP32
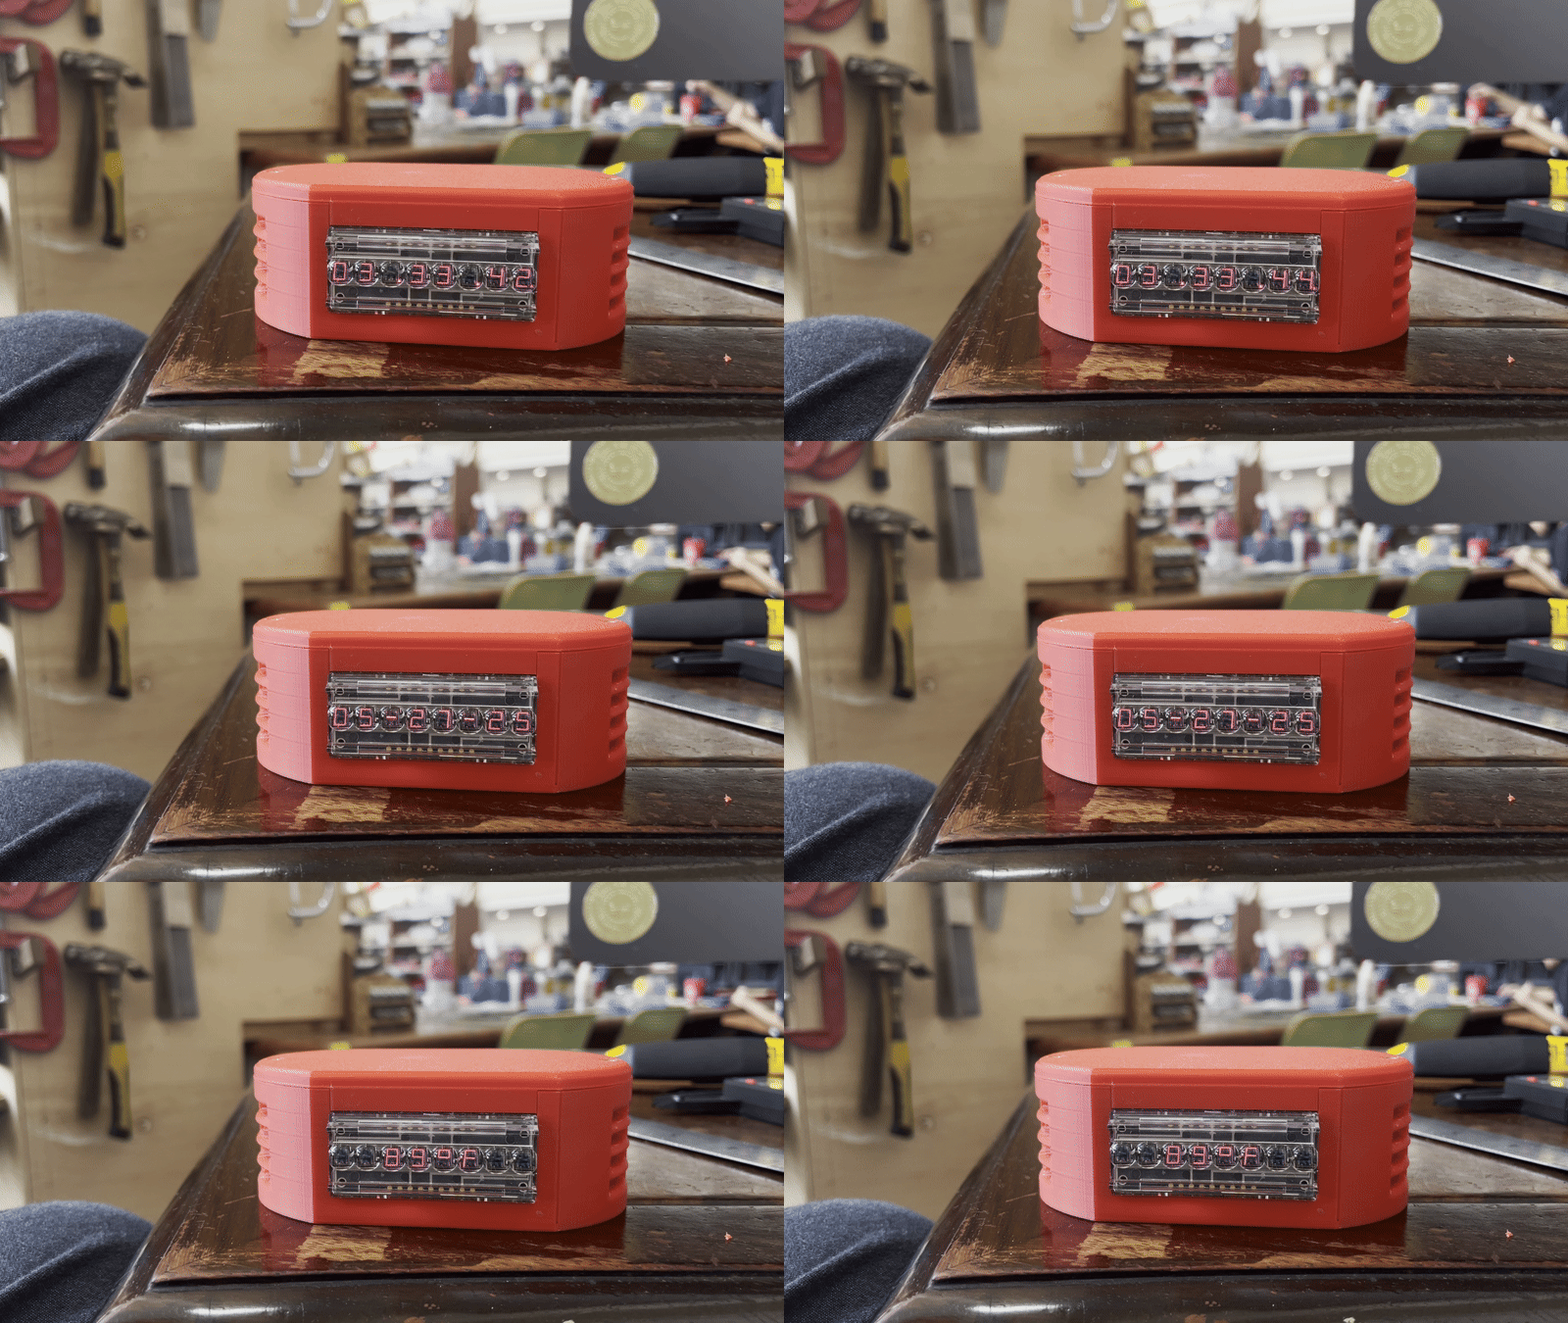
As spotted by Hackaday, this cool project was the idea of Joshua Coleman. Joshua had a few HP bubble displays sitting around after a different project, and instead of letting them sit around to gather dust, they got to work using them in a DIY clock system.
While the HP bubble display gives off that lovely retro look all by itself, Joshua wanted to take things a little bit further and add some modern-day creature comforts into the mix. By adding an ESP32, Joshua managed to get the clock online via Wi-Fi, and from there, he could set up a system that could fetch the current weather and date to display them on the HP bubble digits.
Making the shell took a little bit of consideration:
I used a sliding circuit board module design because I felt it easiest to assemble and— should it ever be necessary— repair. A rare few things are designed to be reparable anymore!
Other such design features include some simple mid-century-modern-esque fluting on the sides for pure aesthetic and a hole around the rear for charging via USB. The esp32 does draw quite a bit of current when constantly polling the web for time etc. But I’ve used this setup in a design before and you can get a good 2-4 hour out of the device with an 18550 battery.
If you’d like to follow in his footsteps, Joshua has uploaded all of the code used for this project to the blog link above. He states that the clock “is designed for American eyes,” so it uses both Fahrenheit for the weather and the mm/dd/yy formatting for the date. However, you can really easily tweak those settings for your own build.
If this is the first time you’ve heard of an ESP32 and would like to learn more, check out our beginner’s guide to programming an ESP32 microcontroller. Or, why not try these 4 amazing projects you can build with a Raspberry Pi and an ESP32?
Simon Batt
Source link


